Quick Overview of React Native
React Native is a framework for building 'Web-app', 'Html5 app' or 'Hybrid app'.
Using it you can develop real mobile apps.
It uses same fundamental UI building blocks as regular IOS and Android apps. You just need put that building blocks together using javascript and react.
So, without wasting more time lets get started with React native configuration in windows PC
There are some dependencies for react native. so you have to follow below steps to provide some modules to it on which it is dependent.
you have to install Node.js, python, and ruby. Following are the links.
1) Node.js: Download Node.js -- Note: download .msi
2) python: Download python -- Note: download latest.
3) ruby: Download ruby installer -- Note: download latest as per your system configuration.
How to install (Important)
-- Install Nodejs with default options.
-- Install Python as given in following images.

Unselect All the optional features.

Unselect All the optional features.

Select only that advanced features which are given in the image below.

Then click install and wait till it completed successfully.
-- Now, Install ruby which is downloaded from given links.
Select below options given in image for installing Ruby.

After all of the installations done successfully, follow below steps to do your installation of react-native development on your PC.
Steps:
-- Download React Native Pepperoni app kit
-- Extract zip in your any newly created folder for development
eg. I have given name mobileapps
-- Open cmd as an administrator and go to your development folder in which .zip extracted
-- Write command displays in below image to cmd
Command: npm install -g react-native-cli

-- Now install dependencies of npm using cmd (Note: cmd must be opened with administrator privileges)
command: npm install

Now Your React-native configuration and installation completed successfully.
Now, let's develop a simple android app using react native.
-- Now you have to setup android development environment in you PC
-- Now set an environment variable in your PC as given in the image below.

-- click on new -> set variable name and set your android SDK path -> click ok
-- Open cmd as an administrator and go to your development folder in which .zip extracted.
-- Write command displays in below image to cmd for android signature verification for development.
command: android update sdk --no-ui --all --filter build-tools-23.0.1,android-23,extra-android-m2repository
-- Now open your custom AVD having API 23 from the android studio.
-- Now write command given below in cmd.
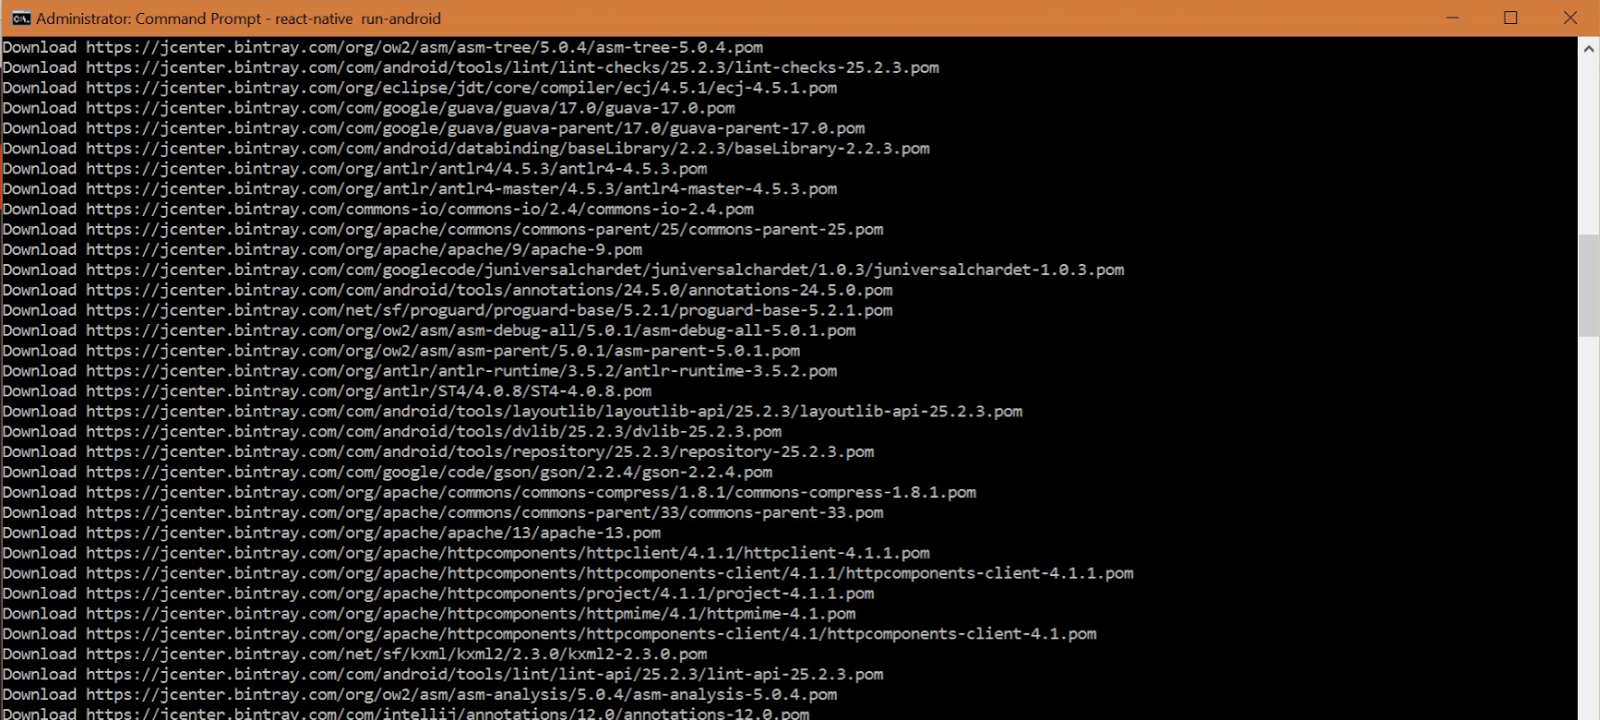
command: react-native run-android
It will install needed packages first for your app to build. After that, it installs the build in your opened AVD.
see images below:
-- Command runs

-- Starts server

-- Downloads needed data for app
-- Build Success and install

-- Runs on your device

Congratulations, you have installed your first demo app on your device and it is customizable from your project folder once you get to know about react native app development.
If you have any queries related to this ask in comment section or kindly mail me on this,
pnishith@gmail.com
Hybrid app development is so popular that starting from a small enterprise to a large enterprise everyone is using it for their main as well as the subsidiary product.
ReplyDeleteYes Evan you are right. Please provide your feedback so I can improve my posts content.
DeleteVery informative post. Thanks for sharing.
ReplyDeletenode.js development services
Welcome Nemco
DeleteAll of these tips are great, that’s very interesting. I’m so tempted to try that myself, but you would think if it were effective, more people would do it.
ReplyDeleteMobile App Development Company in Dubai
Android App Development Company in Dubai
Mobile App Development Company
Android App Development Company in UAE
Thanks
DeleteVisit my newsletter here. basically on react and react native.
nishith.studio
Great blog.
ReplyDeleteThe information that you shared with your blog about the process of download and installation with node, python etc. is really very specific and knowledgeable. It is very useful to understand the concept of react native.
I was searching for the best react native app development company India and got this blog.
Thanks for sharing such a great blog.
Thanks
DeleteVisit my newsletter here. basically on react and react native.
nishith.studio
Thanks for sharing this valuable article to build an app. Here I want to say also that react native is a great framework and cost effective solution to make a budget-friendly mobile app.
ReplyDeleteReact Native App Development Cost
Mobile app development company